| 1 | PrerequisitesBefore beginning installation get ready next things and settings:
| |||||
| 2 | Launch new Windows Server 2019
| |||||
| 3 | Configure Windows instanceConfigure swap file
| |||||
| 4 | Install JDKDownload and install latest build of Open JDK Corretto 8 https://corretto.aws/downloads/latest/amazon-corretto-8-x64-windows-jdk.msi | |||||
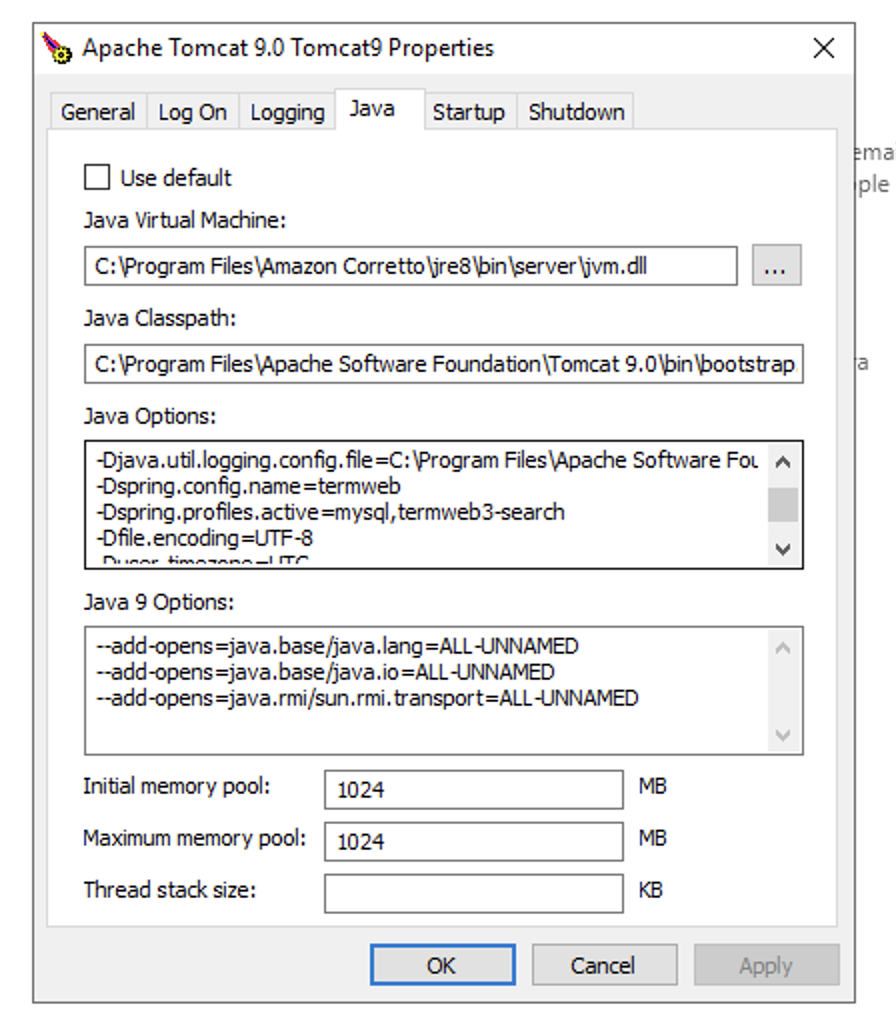
| 5 | Install Tomcat 9.0Download and install Core version with Windows Service installer: https://downloads.apache.org/tomcat/tomcat-9/v9.0.41/bin/apache-tomcat-9.0.41.exe, don’t install manager, host manger, examples or documentation. Choose for example C:\tomcat folder for installation, or proceed with default. 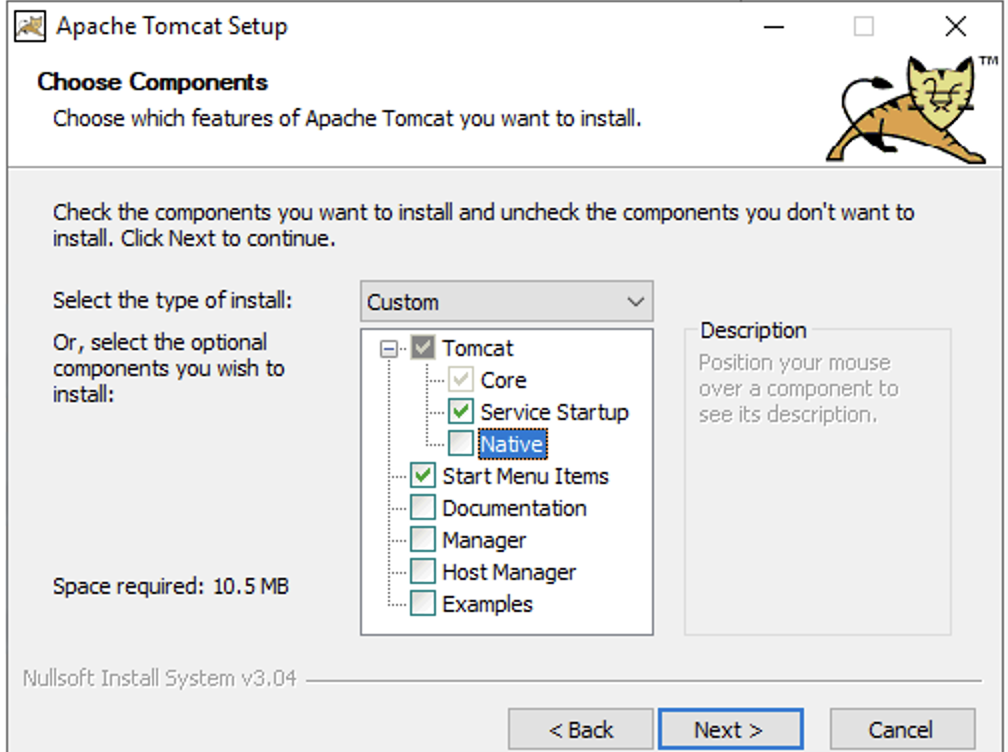 Specify JDK instead of JRE as Java VM: 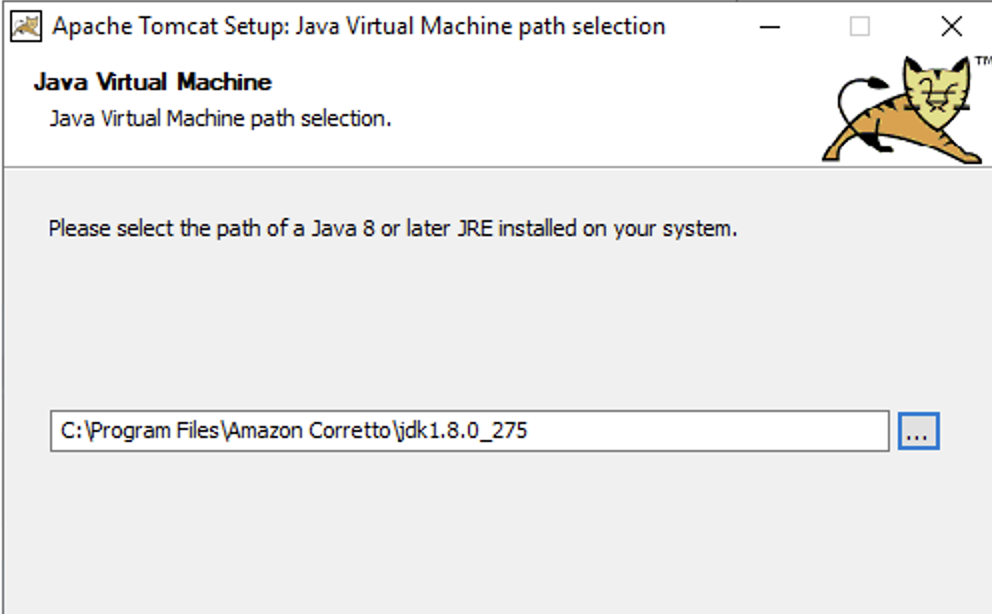 Leave other options with default values. Configure tomcat via link “Configure Tomcat” in Start menu
Create TermWeb home folderOn previous step we pointed in Tomcat configuration TermWeb home folder as Configure launch of TermWeb with operating system startup
| |||||
| 6 | Install and configure IISExpand | Open server manager and add new server roles: 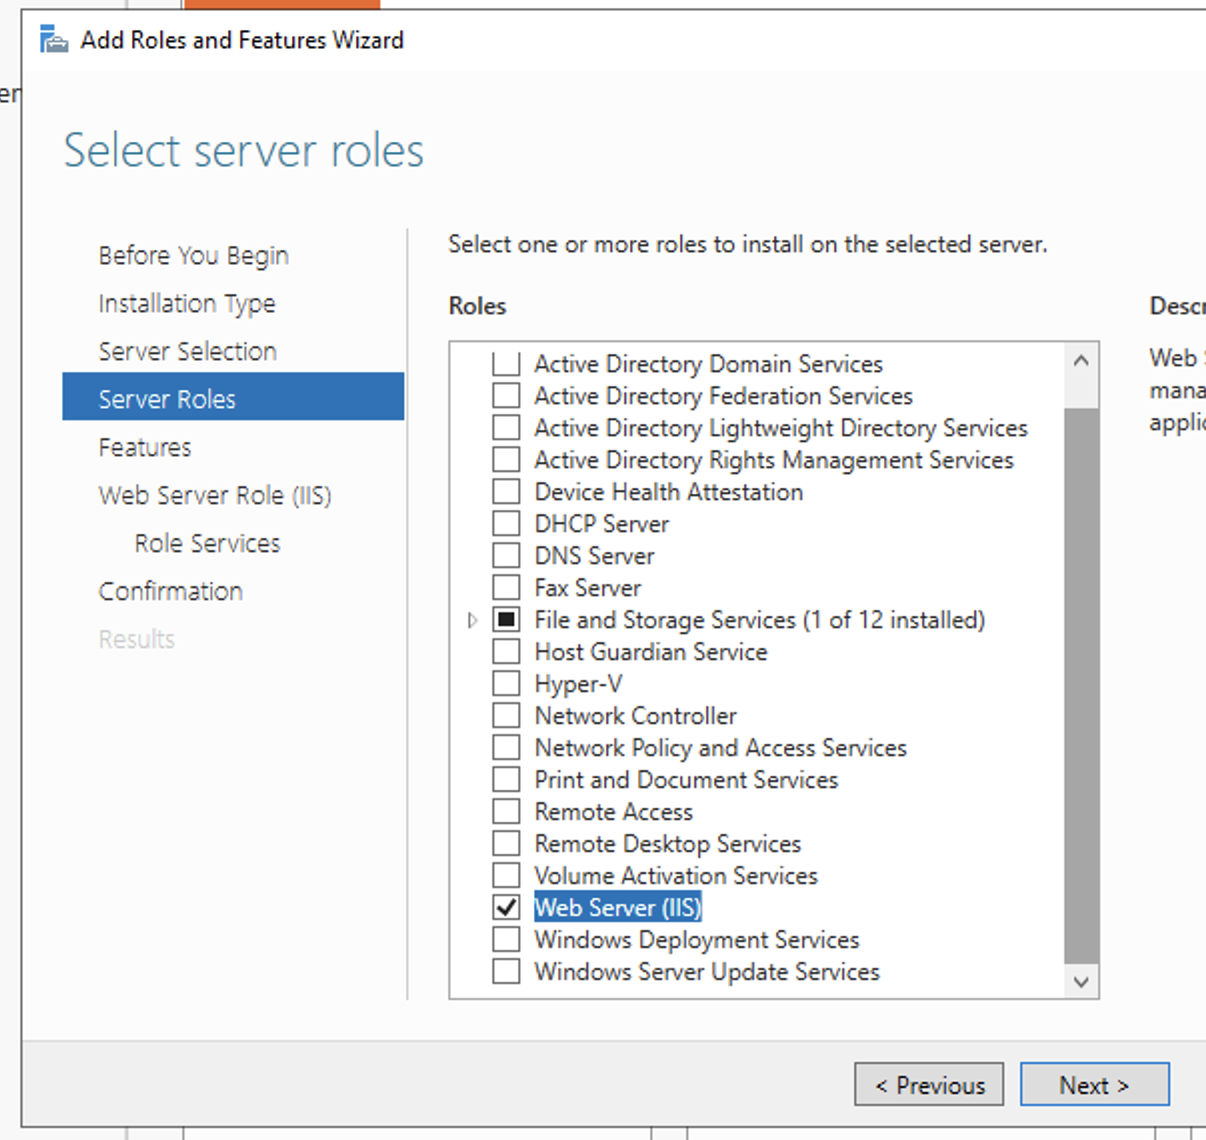 Add latest versions of URL Rewrite and Application Request routing modules via Web Platform Installer from IIS Manager of website: 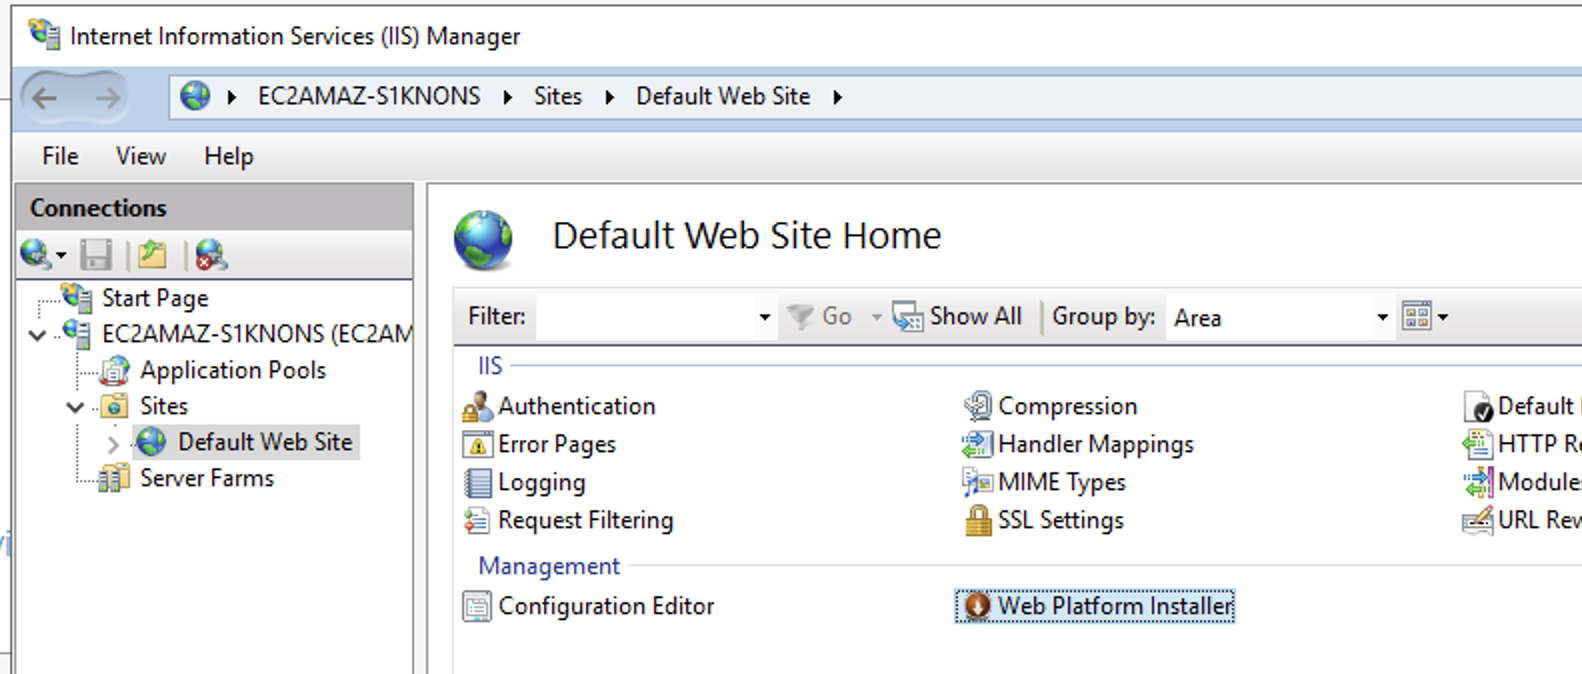 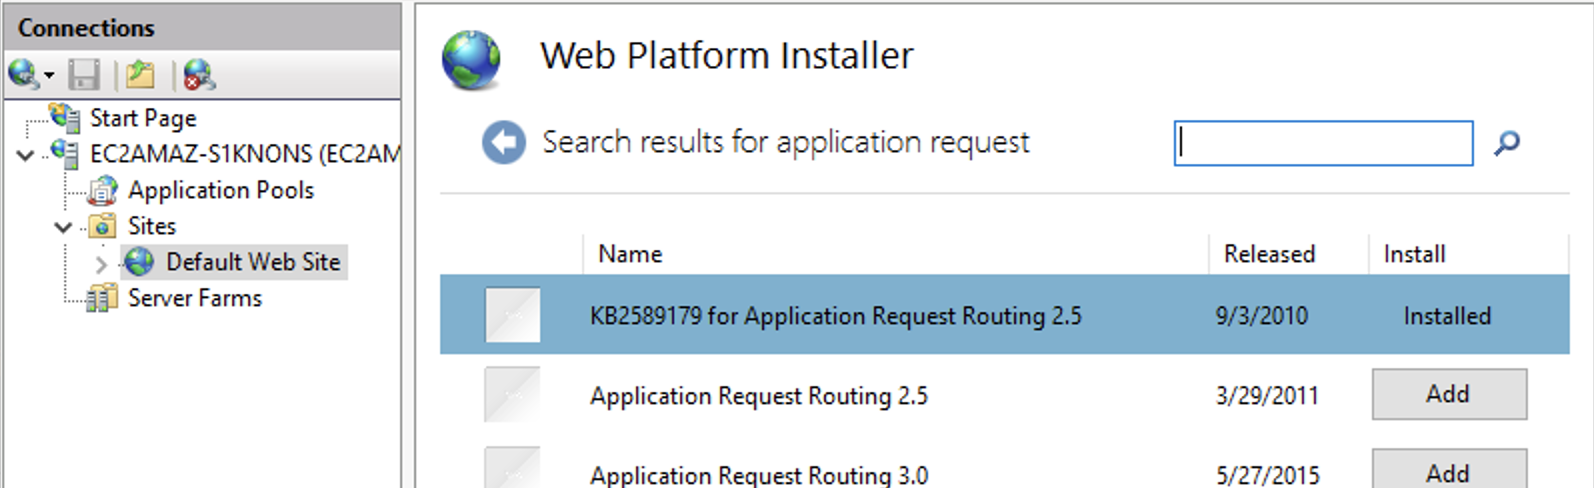   Open ports 80 and 443 in Windows Firewall for any incoming connections in case if it not opened. 
 | ||||
| 7 | Configure IIS to proxy TomcatEnable proxy for serverOpen Application Request Routing Cache for server by double clicking: 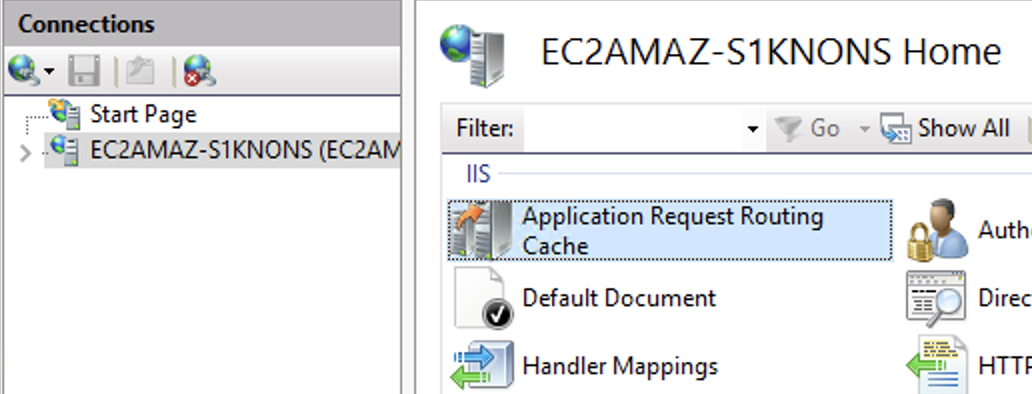 Open Server Proxy Settings and tick on Enable proxy, other settings may remain with default values: 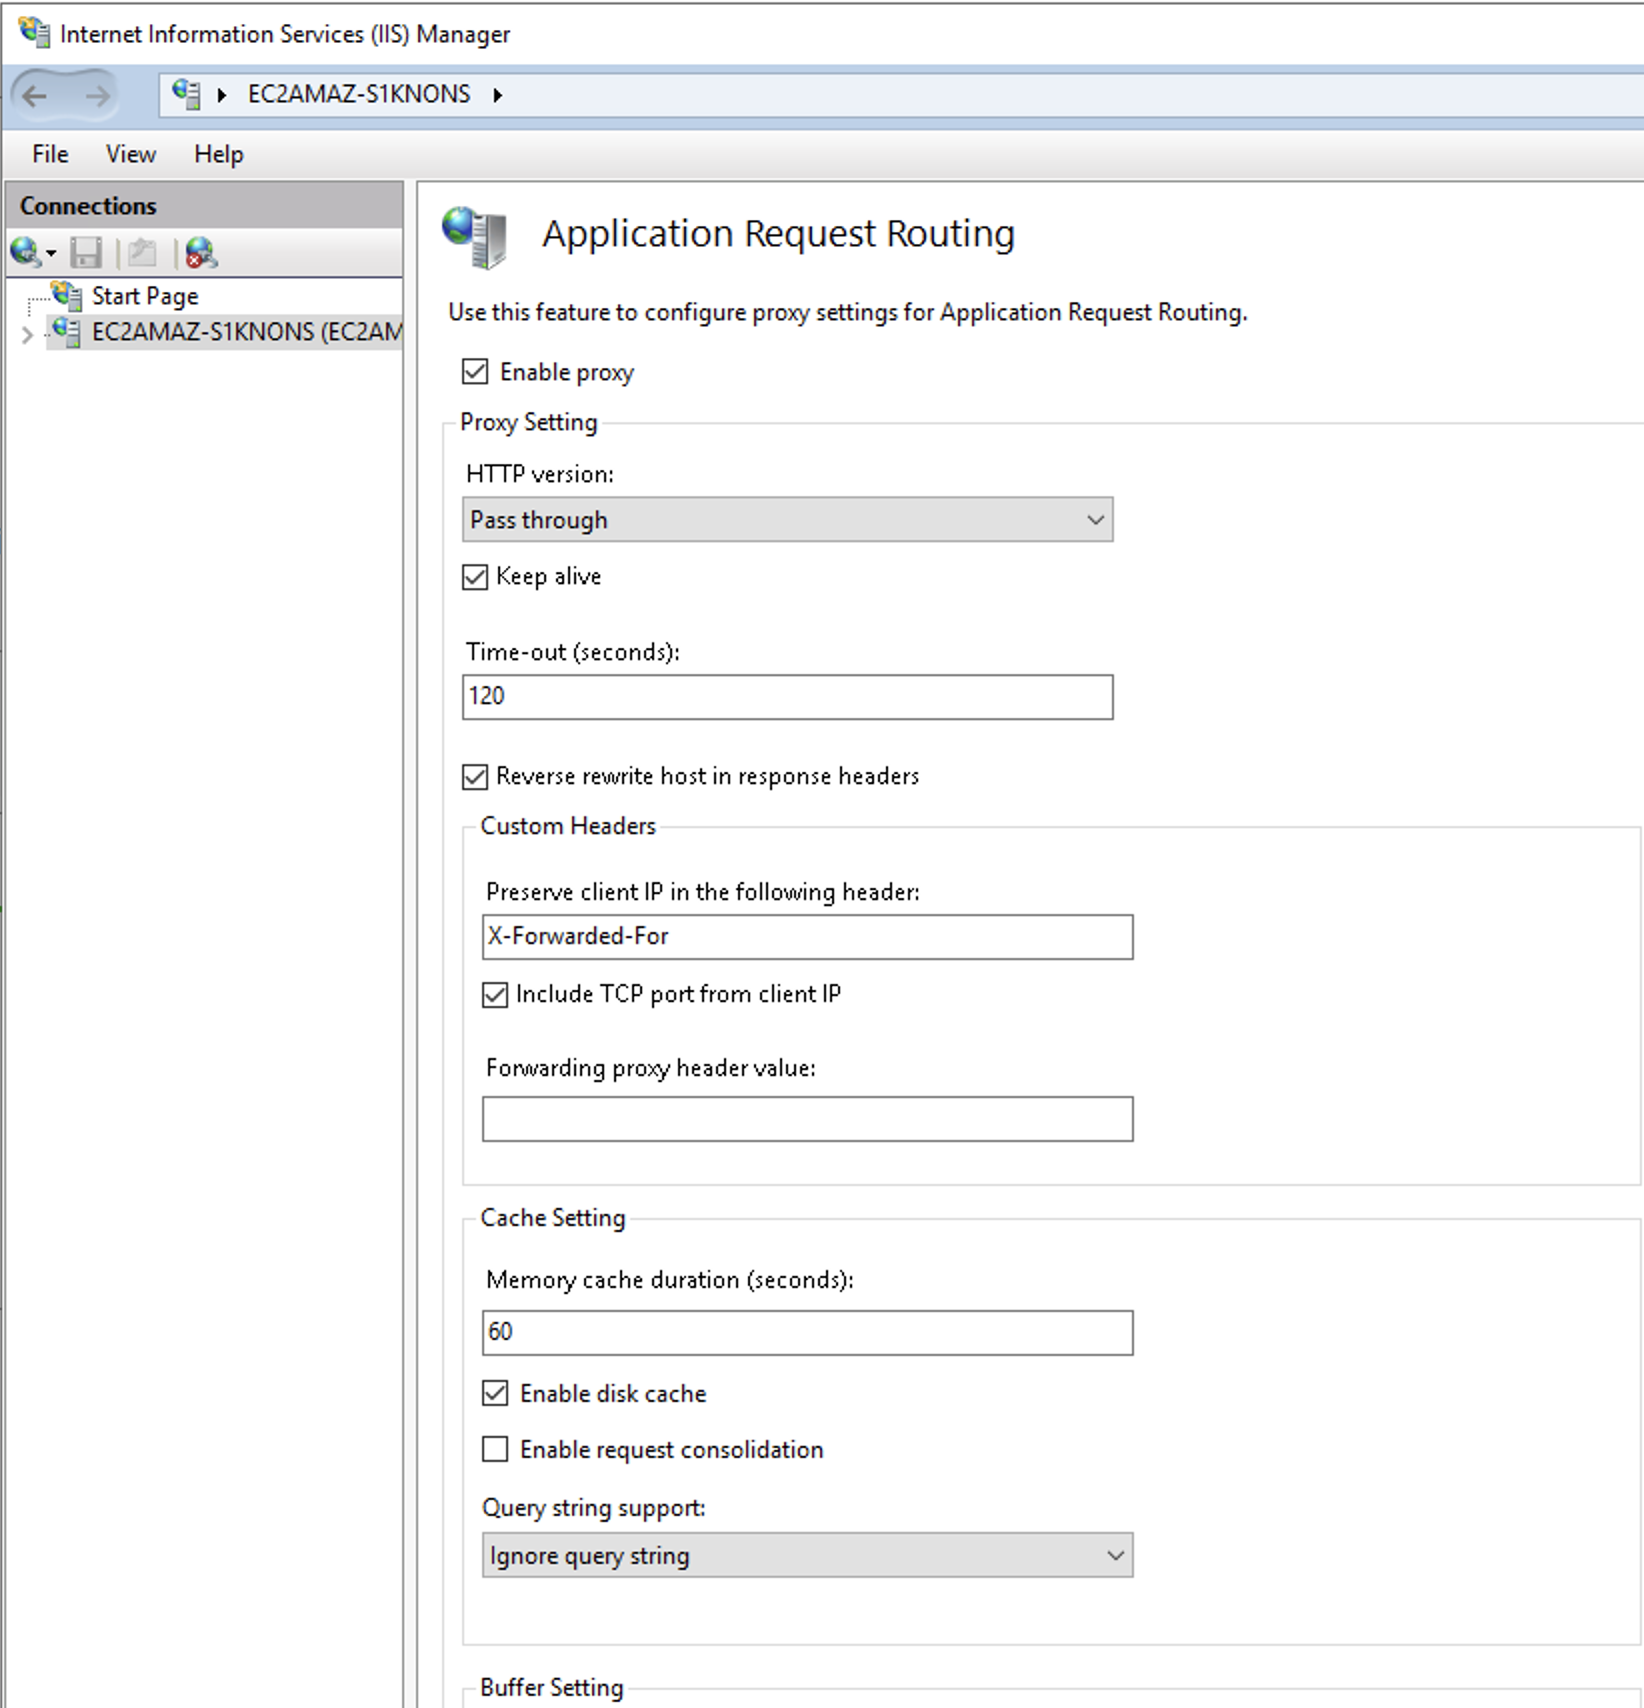  Setup rewrite rulesYou can do it manually by editing URL Rewrite table for website: 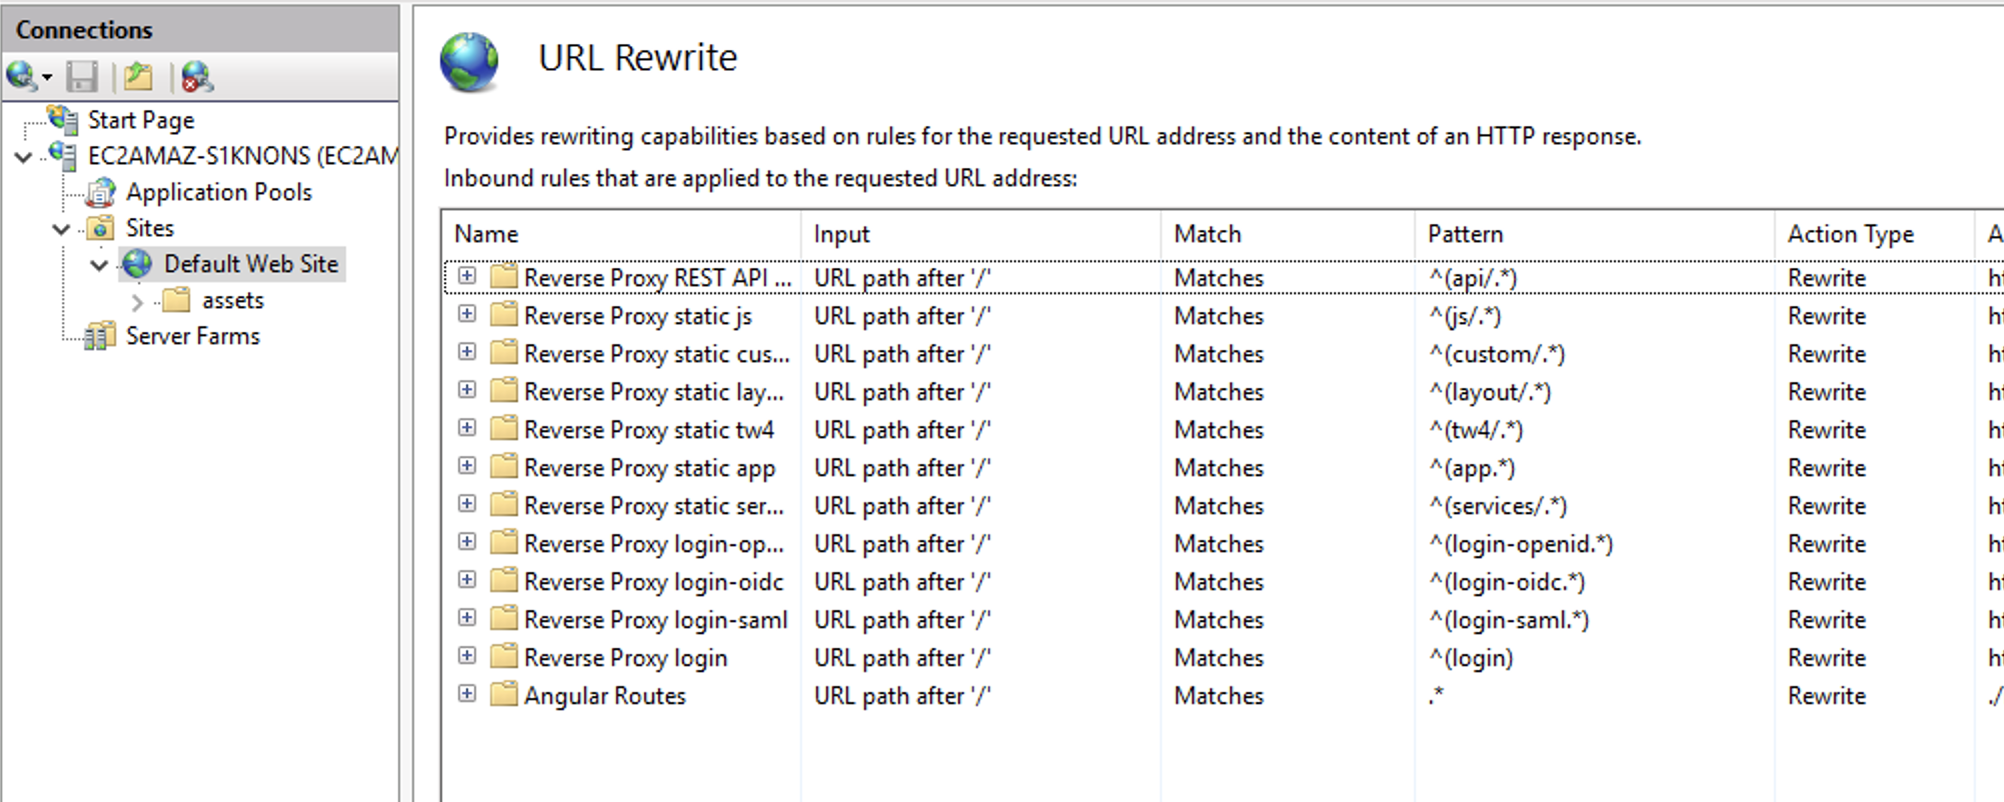 But we suggest to put file web.config to root folder of web site (
| |||||
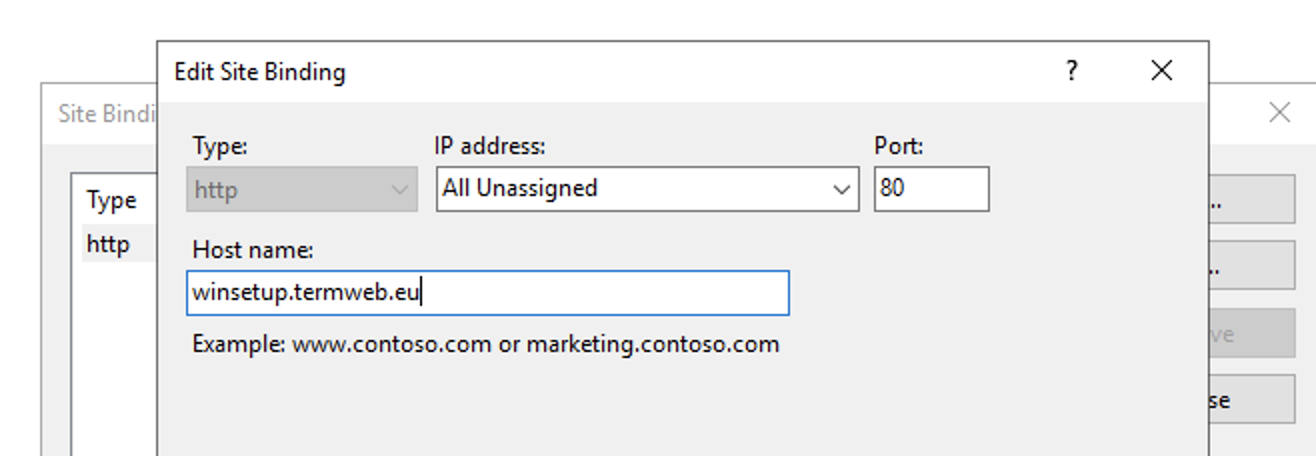
| 8 | Configure encryption for your websitePickup certificate from your IT department or get from any company. One of non commercial companies provides it for free: https://letsencrypt.org | |||||
| 9 | Install TermWeb 4Unpack distributive
Create and configure termweb.properties
Run and test
| |||||
| 10 | Configure log rotation for TomcatTo avoid tomcat logs grow without limits we need to configure logrotate for it. Major log file to rotate there is | |||||
| 11 | Configure Monitoring for server statusWe advise to configure tools on your choice which will monitor server status | |||||
| 12 | Configure DB backupsDon’t forget to have DB backups on daily basis for example. |
| Table of Contents | ||
|---|---|---|
|